In This Post
I’ll be honest—when I first heard you could make ice cream without an ice cream maker, I was skeptical. As someone who loves playing around in the kitchen, I thought surely, you needed the fancy machine to churn out (pun intended) that creamy, dreamy texture. But after giving it a try, I was hooked. It’s so easy, so satisfying, and ridiculously delicious. You can whip it up with just a few ingredients you likely already have at home.
Let me walk you through the process—it’s not only fun, but you’ll feel like a kitchen wizard when you’re done!
What You’ll Need:
Ingredients (for basic vanilla ice cream):
You don’t need a long list of fancy ingredients to make amazing homemade ice cream. Here’s the basic formula:
- 2 cups heavy cream (cold)
- 1 can (14 oz) sweetened condensed milk
- 1 teaspoon vanilla extract
Optional Add-Ins:
- Chocolate chips
- Crushed cookies (Oreos, graham crackers)
- Fresh fruit (strawberries, blueberries, etc.)
- Cocoa powder
- Caramel or chocolate sauce
That’s it! The beauty here is in the simplicity—this is your base, and from there, the flavor possibilities are endless. You’ll see!
How to Make It:
1. Whip the Cream Until Fluffy
Start by pouring cold heavy cream into a large bowl. The colder, the better! If you want to speed up the process, pop your mixing bowl and beaters in the freezer for about 10 minutes. Trust me, it helps the cream whip up beautifully.
Using a hand mixer or stand mixer, whip the cream on medium-high speed. You’re looking for soft peaks, which means the cream holds its shape when you lift the beaters, but isn’t stiff or over-whipped. This usually takes about 3-4 minutes.
(Tip: Don’t overwhip! If it starts looking like butter, you’ve gone too far. Soft and billowy is what we want here.)
2. Mix in the Sweetened Condensed Milk
In a separate bowl, combine the sweetened condensed milk and vanilla extract. This is the magic ingredient that keeps the ice cream smooth and prevents it from turning into an icy block in the freezer.
Now, gently fold this mixture into your whipped cream. Be careful not to deflate that light, fluffy cream! Use a spatula and fold it in until everything is just combined.
3. Time for Flavor Fun
This is where things get exciting. You can keep it simple and stick with vanilla (which is perfect on its own), or go wild with add-ins. Here are a few ideas from my own experiments:
- Chocolate Lovers: Fold in 1/2 cup of chocolate chips or swirl in some melted chocolate or Nutella.
- Cookie Crumble: Crushed Oreos, graham crackers, or Biscoff cookies are a winner here.
- Fruity Swirl: Puree some fresh strawberries or blueberries and gently swirl them through the mixture.
Feel free to get creative. The best part of homemade ice cream is that you can customize it to your taste. No rules!
4. Freeze It Up
Once you’ve got your base mixed and any add-ins incorporated, transfer it all to a freezer-safe container. A loaf pan works great for this because it’s shallow enough for the ice cream to freeze evenly.
Smooth the top, cover with plastic wrap (or a lid if your container has one), and pop it into the freezer. Now, here’s the hardest part—waiting! Let it freeze for at least 4-6 hours, or better yet, overnight if you can resist digging in earlier.
5. Scoop and Enjoy
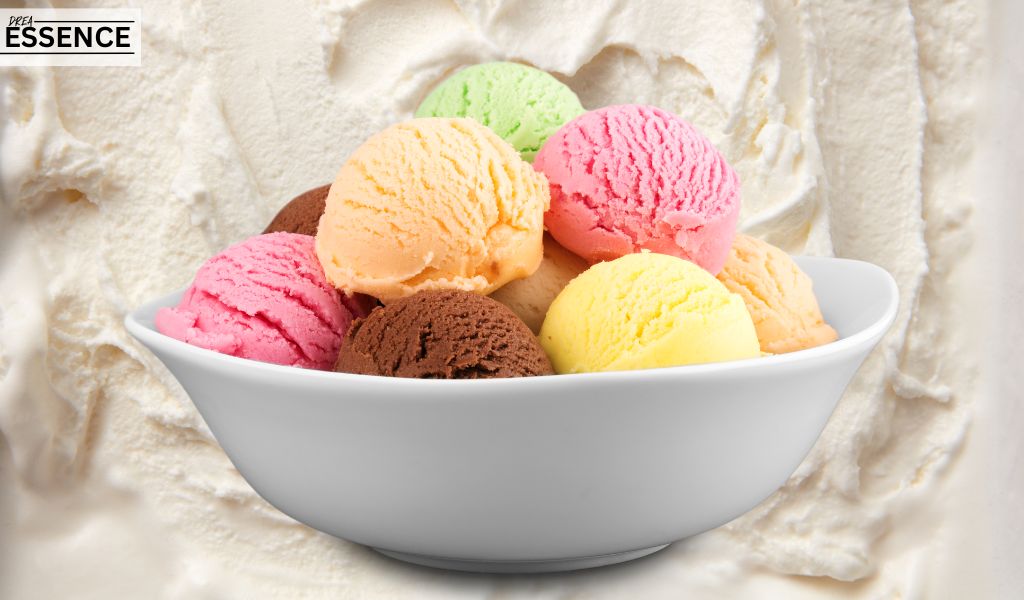
When you’re ready to serve, take it out and let it sit for a couple of minutes to soften up. Then, scoop it into a bowl or cone, and enjoy your creamy, homemade masterpiece. The texture will be just like you’d get from an ice cream maker—smooth, rich, and oh-so-satisfying.
Tips:
- Use Cold Ingredients: The colder your cream, bowl, and even condensed milk, the better. This helps whip the cream faster and keeps everything light and airy.
- Don’t Skimp on Mix-Ins: Ice cream is all about indulgence! Whether you’re adding cookies, fruit, or chocolate, be generous. You want every bite to have something fun.
- Customize the Sweetness: If you want your ice cream less sweet, you can slightly reduce the amount of sweetened condensed milk. But remember, this ingredient helps with texture too, so don’t go too low.
Why This No-Churn Method Works
The magic here is in the balance of whipped cream (provides air and lightness) and sweetened condensed milk (acts as both sweetener and texture stabilizer). Together, they create an ice cream base that doesn’t require churning to develop the creamy texture we all love.
Making homemade ice cream without a machine isn’t just easy—it’s a blast. Plus, you get to customize every single detail. Whether you keep it classic with vanilla or go all out with crazy mix-ins, you’ll be rewarded with a rich, creamy dessert that’ll impress everyone (or just make you happy on a hot day).
Happy scooping!

